Toe Kickin’ It with Aria Vent
Share
A toe kick is the recessed area at the bottom of a base cabinet. AKA toe space / cabinet toe kick / kick board/ or kick space. These are often built into bathroom vanities and kitchen cabinets to allow more comfort when accessing counter-top space. This design reduces the amount of space needed for a person to reach the work surface, which eases the amount of stress that is placed on the back and hips. Surprisingly, it also gives you better balance when working in these areas.
Can Aria Vents Be Used in Toe-Kicks That Have Vents?
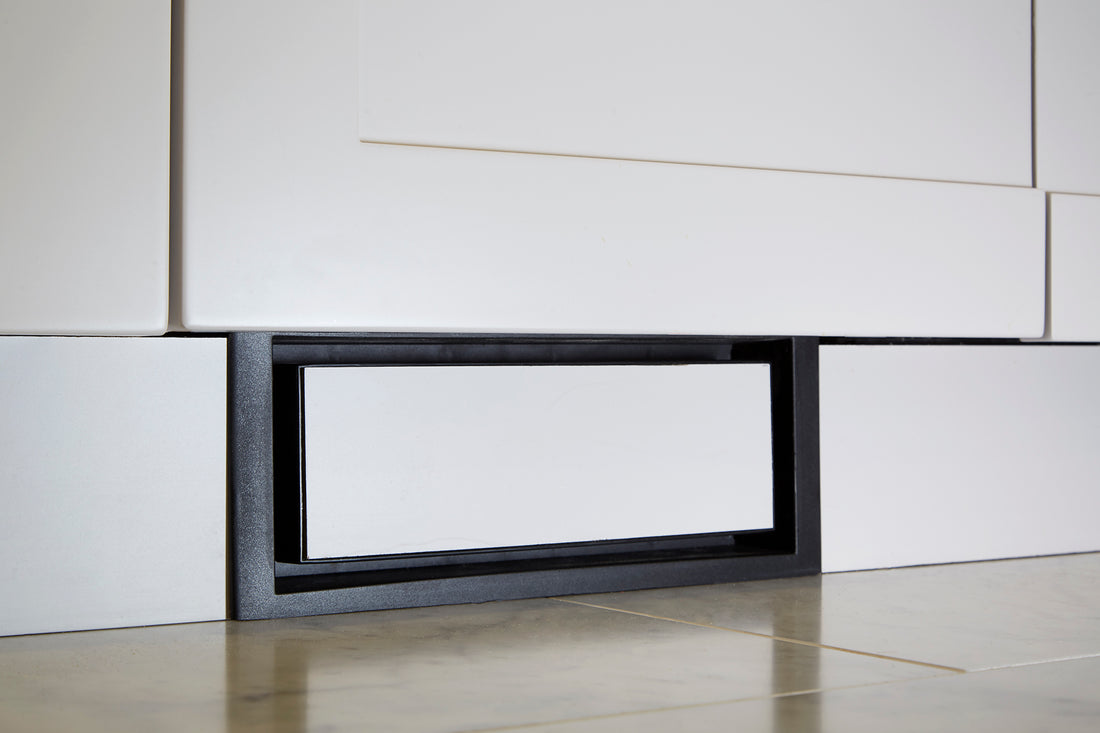
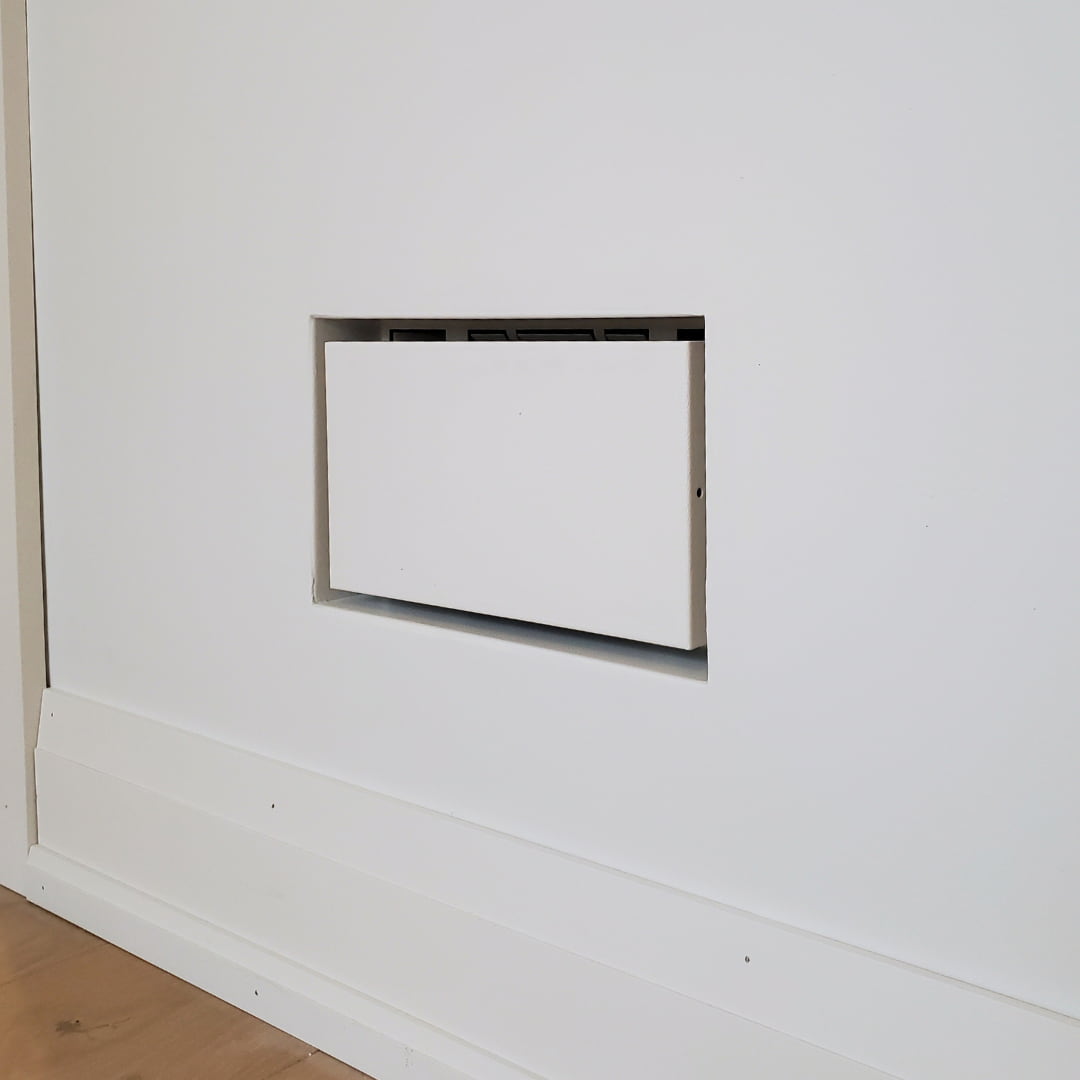
Most definitely! Our multi functional vents work very well for this application. Take a look at our Framed OG Floor Vent [Luxe] shown below in Fig. 1 and Fig. 2. It seamlessly compliments the overall aesthetic of any cabinet.
 Fig. 1
 Fig. 2
Top-Mounted Models are the Best for this Application!
The Framed Floor Vent [Lite] and Framed Wall Vent [Lite] - like the Framed OG Floor Vent [Luxe], can be used after the surface is installed. The Framed OG Floor Vent [Luxe] has built-in dampers (which are two flaps of metal that can be adjusted to release, or restrict airflow). Lite models do not come with built-in dampers. However, you can purchase this add-on DAMPER ATTACHMENT for the Lite Models (Framed Floor Vent [Lite] and Framed Wall Vent [Lite]). Aside from this functional difference, once installed our Lite and Luxe models look identical.
EZ Install:
1) Remove the toe kick.
2) Make a cut in the toe kick for the vent to fit. Depending on the vent's outside measurement, the cut size will vary. (Pro Tip: MOST vents in toe-kicks are 3"x10" size. BUT don't take our word for it!! Always always measure!)
3) To fasten in place, follow steps 2-4 HERE
3) To fasten in place, follow steps 2-4 HERE
Camouflage With Our Flush Models
The installation process for our Flush Floor Vent [Luxe] and Lite is a little tricky.
The base of these models (outlined in Fig. 3) needs to be installed behind the surface material of the toe kick.

Fig. 3
Installation for the Luxe or Lite Flush Vent is exactly the same. The process for installing these in the toe kick can be a little tricky, and definitely requires PRO SKILLS! Install will be nearly the SAME AS MOUNTING IT ON A FLOOR. The only difference is that the base will need to be fasted to the back of the finishing material (or toe kick) with glue instead of screws.
(Pro Tip: We suggest doing the installation of the Flush Floor Vent Models before the toe kick is mounted in place. This will just be a whole lot easier for you and your back.)
Check out the Flush Floor Vent [Luxe] in toe kicking action below.


Get your brain juices flowing!
--> Home inspo is all over our CATALOGUE .


